![]()
GM 10-bolt Part II
Hopefully if you made it this far, you have completed Part I.
Part II will cover the install and set-up of the ring & pinion, and finishing touches.
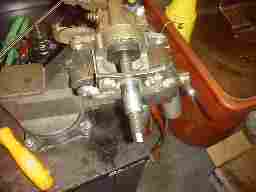
Hopefully you had the old pinion shim, here is where it will come into play. You will need to set the pinion down inside the housing. Then set the carrier down inside with the outer races installed. I used two "production" shims to give some initial preload so I could check the "tooth pattern" to give me an idea if the pinion depth is close. A service shim is the thick cast iron shim most axles come from the factory with. I didn't fully seat it since I was just making some checks.
The pattern looks fairly decent, so I will leave the pinion shim alone. If you don't have any gear marking compound, you will need some. This will be your final "test" along with backlash measurements.
Since I determined to use the existing pinion shim, I will go ahead and set the pinion bearing preload. You will need to oil the front and rear bearings.
|
|
|
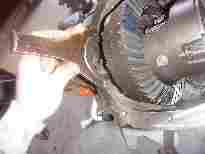
Install the front bearing, and tap in the pinion seal. Once this is done, slide the crush sleeve on the pinion shaft, set the pinion in the housing, put the companion flange (yoke) on and the washer and start the nut.
|
|
|
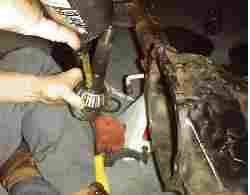
I used the special tool to hold the companion flange during tightening. If you don't have access to one of these, you will have to use your imagination, but whatever you decide to do, just remember it has to withstand alot of torque. I used a 3/4" pull handle to make turning the nut effortless. The reason it gets so hard is because you have to press the front bearing on the pinion, and you have to crush the crush sleeve.
|
|
|
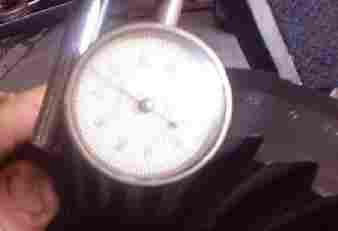
Turn the nut until the pinion won't rock back and forth inside the housing. You want to eliminate all play. Now, turn the nut some more, but go very slow, and in small increments. Once all the play is gone, you will start to crush the crush sleeve. Once you crush it, you cannot "uncrush" it, so if you over tighten, you will have to throw the sleeve out, get a new one, and start over. You want between 15-30"/lbs for new bearings, 9-15"/lbs on used bearings.
I have appoximatly 30 inch pounds of preload on the bearings. Remember, tighten the nut slowly and in small increments. A very small turning amount yields very large increases in preload!!!
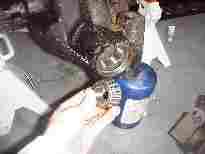
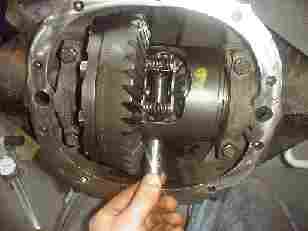
Now that the pinion is in, you need to work on the carrier. Set it in with the outer races installed, and the bearings oiled.
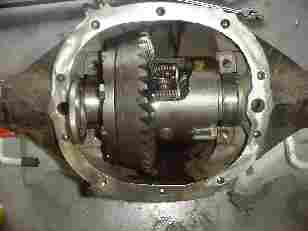
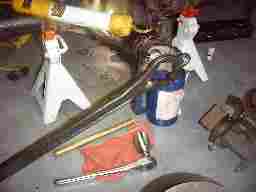
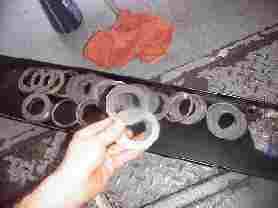
There is another special tool (of course!) to tap the shims in, but you can make do with about anything you can find.
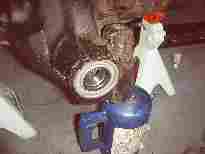
This shim is to thick. I will not be able to use the thick "production" shims, so I will need to stack several thin shims (shim pack) to get what I need.
This is where it gets crazy. First you need to establish "no clearance" while getting no preload. So you need to start with thin shims, and get thicker, equally on each side, untill there is no clearance (using a feeler gauge) on either side of the carrier. Once this is achieved, you will need to check backlash.
I have .005" of backlash, wich is to tight. Richmond Gears recomends .008" of backlash (its also etched on the ring gear). You will need to swap shims around, to move the ring gear further or closer to the pinion. Since I am to tight, I will have to move it left (away) from the pinion. Whatever you subtract from one side, you MUST add that shim to the other side to mainain zero clearance.
Once you get the backlash set right, you will now need to pre-load the side carrier bearings. After verifying that zero clearance is achieved, you will need to add a .004" shim to EACH SIDE. You will have to pound these in. To keep from bending it up, I remove the carrier, add the .004" to each shim pack, then install the carrier and one shim pack, then tap the whole other pack in. Remember, if the original "production" shims fit, you won't need to go through all of this.
With that done, you will need to check side bearing pre-load and total preload.
To determine total pre-load, simply take your beam type torque wrench as used in the pinion bearing meaurement, and turn the pinion nut. You should have 32-55"/lbs of preload. I had 40 inch/pounds, but because there is such a varience offered, you will need to check the side bearing pre-load, which is a simple formula: Total pre-load - Pinion pre-load x gear ratio. Specs for new bearings is: 30-40 inch pounds. So I had 40 total, 30 at the pinion, and I installed 3.73s. 40-30=10x3.73= 37.3, so I am at the upper limits, but OK.
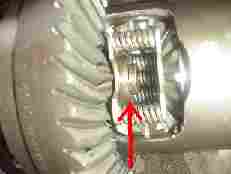
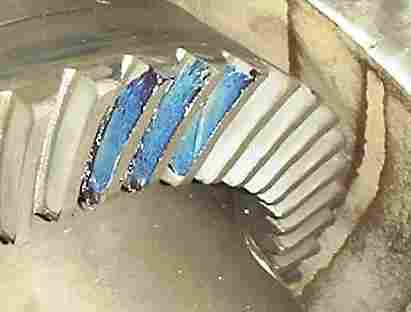
So we are doing good, now one final check, the "tooth pattern" check. Torque the main caps in place. Add more paste to the gear teeth and turn the ring gear foward and backward so you can see both sides of the pattern. Richmond Gear reccomends for their 49 series gears (like what was installed) that the pattern be basiclly centered, with a slight bias to the "toe" of the tooth.
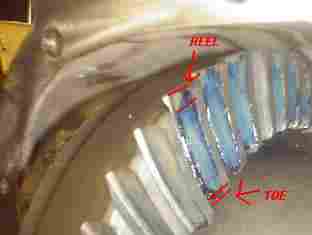
We are right on the money! Now doublecheck the backlash just for re-assurance. We are still at .008", time to move on. You will need to slide the axles into the tube and align the splines so they will fit into the side gears of the carrier. You will need to do one at a time to get the C-clip in. Once the clip is on the axle, slide the axle outwards to seat the clip.
|
|
|
Once both axles are in, you will need to install the pinion shaft to keep the clips from unseating. Remember to tighten the bolt down with the 6 point 5/16" socket. You have come to far to round that bolt off!
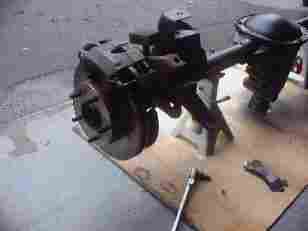
Now that the ring and pinion is set-up, its all down hill from here. My next step was to paint it. After all, if you did this much work, no sense in it looking like it was stolen from a junkyard. I waited untill the internals were set-up to paint, since there is alot of positioning of the axle during setup, and it would have gotten all scratched.

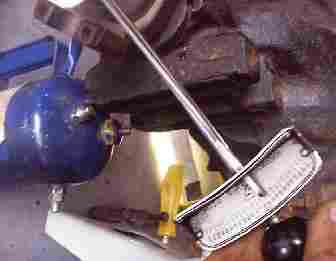
Next step (disc conversion only) was to install the rotors/calipers, etc... The pistons in the caliper where too far out for the new pads, so I had to push them in. There is a tool that rotates the piston while pushing it in.
With the pads installed, set the caliper on the mount, and don't forget to lube the slide pins with Silicone lubricant. These brakes aren't the greatest, so take the extra step to help them work at their peak.
Tighten all four slide pins down (two on each side)
|
|
|
|
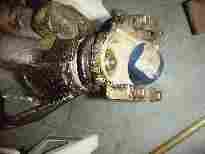
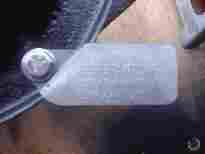
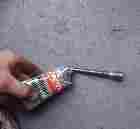
Of course, since I am going to "walk the walk", you better believe I will "talk the talk"!! I think this is one of the most recognized items on an axle!
|
|
After insalling the brake lines, I also installed new E-brake cables. I had to get new cables since my current set-up is drum. They are very easy to install. The axle is ready to install!
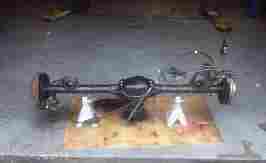
Part III will cover the swap of the rear axles. Part III will be coming soon!